Skip to content
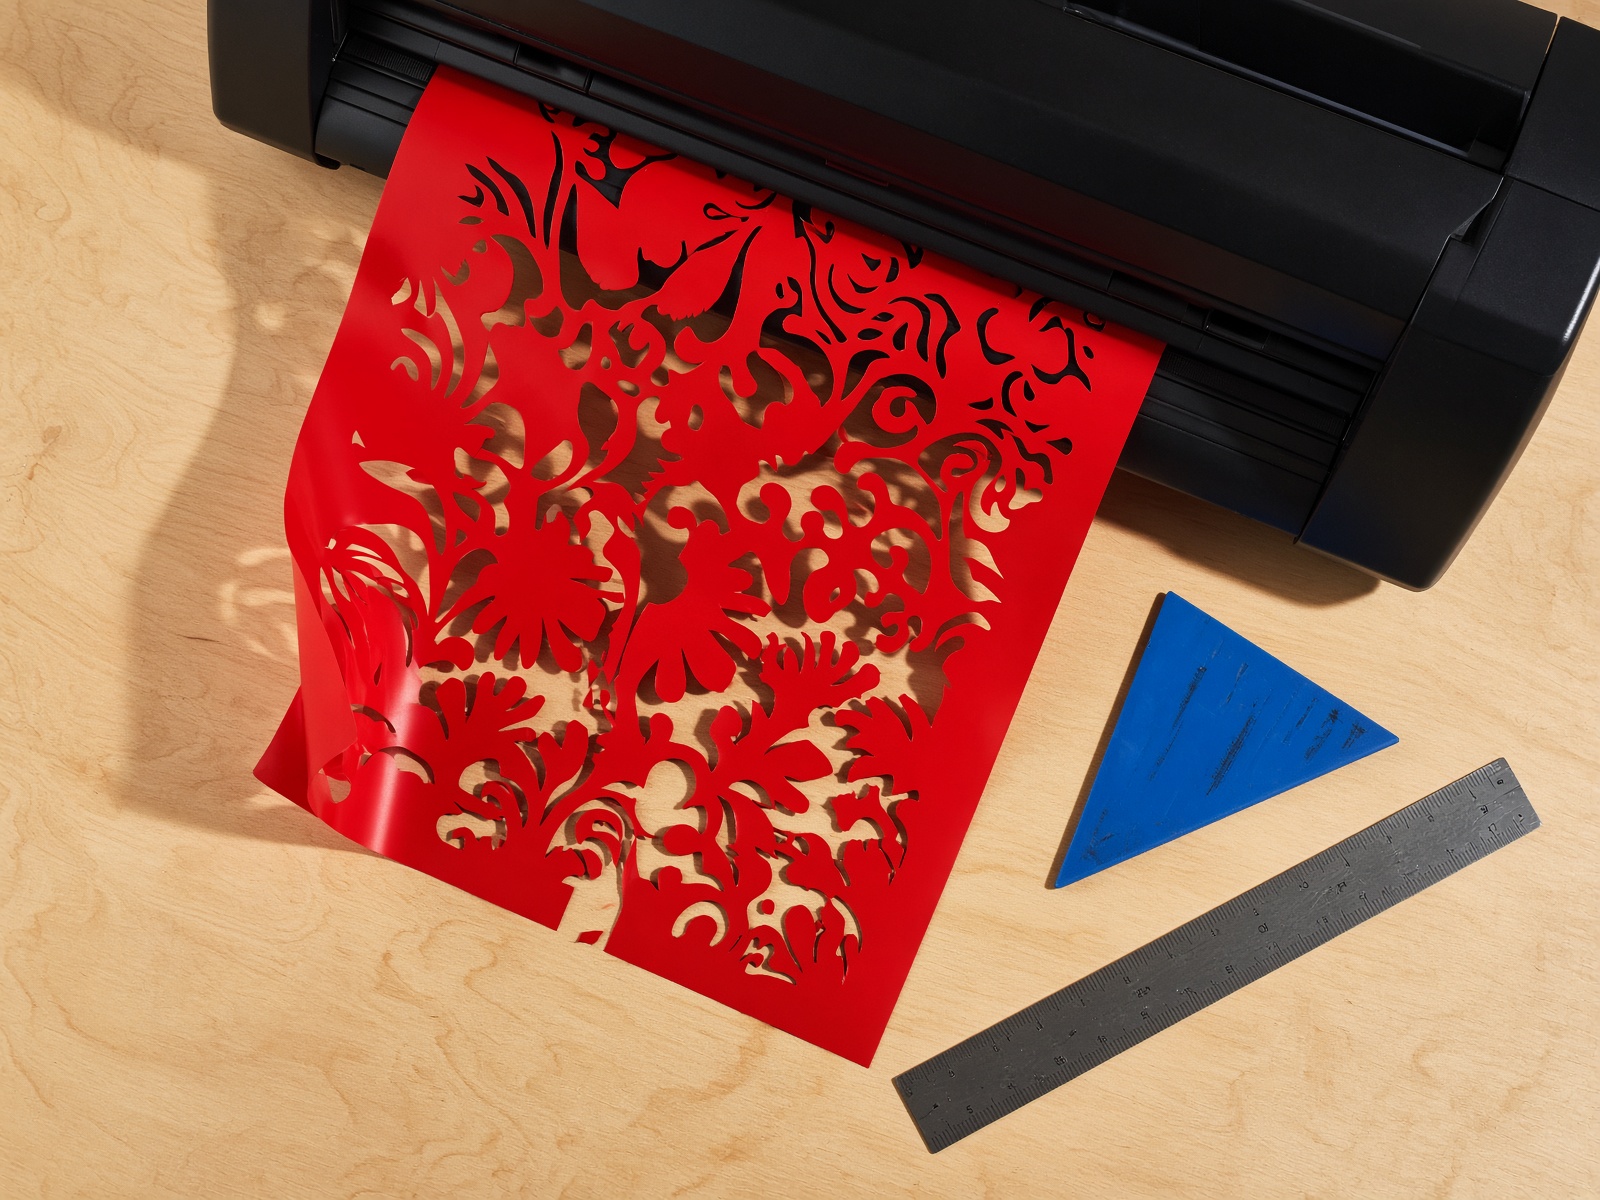
Squeegee and freshly cut red vinyl on a birch bench

Fitting guide · vinyl graphics

Slow hands, new blade, no drama

The golden rules from the workshop bench — for motorcycle kits, window vinyl and vehicle lettering. Read them before the backing paper comes off.

Golden rules

Before the film touches anything

  1. 01

    Dry run

    Offer the decal up before any adhesive touches paint. Note the gaps around vents and edges.

  2. 02

    Pick a method

    Flat panel: hinge from the top. Curve: start in the middle. Glass and large sheets: a drop of wash-up liquid in water.

  3. 03

    Tools out

    New blade, flexible squeegee, and a sprayer if you are going wet. Hunting for them mid-panel is how dust gets in.

  4. 04

    Take the time

    Peel backing only as far as the next pass. Squeegee in a direction, not in circles.

  5. 05

    Ask first

    Advice is free. A second set of graphics is not. If the panel scares you, book the fit.

On the panel

Three ways that work

Hinge method

Trim the backing close, line the decal up, peel only the start, and tack that edge. Work along with a squeegee. Keep unfitted vinyl held off the panel so you are not sticking dust. Pull application tape back flat across the surface, never straight up.

Trim to fit

Lay the flat areas first and let the vinyl hang over vents and edges. A little heat helps it drop into a recess. Score around screw heads by following the hole with the blade tip — do not cut down onto the paint. A brand-new blade means you barely have to press.

Soapy water

Two drops of washing-up liquid in a sprayer, not a squirt. Flood the panel, lay the decal, slide it true, then squeegee from the middle out and blot the water as it escapes. Large sheets throw static and collect fluff — work clean.

Bubbles & aftercare

If it is not perfect yet

  • Adhesive takes time to reach full grab. Do not judge a wet fit in the first hour.
  • A small bubble: prick the centre with a fresh tip and press toward the hole.
  • A crease in loose vinyl: lift that part, warm it, and let it shrink back flat before you squeegee again.
  • Wash with shampoo. Skip abrasive polish. Lacquer is optional, not required.
  • Saturday drop-off at the unit is 09:00–12:00. Full kits need a weekday appointment.

FAQ

Straight answers

Motorcycles built the archive — more than 100,000 decal records, from current road bikes to obsolete classics. The same workshop now cuts and prints vinyl signs, window graphics and vehicle lettering for businesses across the UK.

Yes, by appointment at the Midlands workshop. If you can wait, call ahead and book a slot. If you cannot get time off in the week, drop the bike on a Saturday morning between 09:00 and 12:00 and collect the following Saturday. Full kits are not normally fitted on a Saturday — a complete bike can take up to five hours, and Saturday is a short morning.

No, you do not need to. The vinyl is made for outdoor life. Leaving it unlacquered means a damaged or unwanted graphic can be replaced later. If a painter does lacquer them in, that is fine too — the decals are used by paint shops with all sorts of clear coats.

Most car or motorcycle shampoos are fine. Avoid abrasive polishes such as T-Cut, and anything not made for vinyl — they can dull the print. If you are unsure, test on a spare offcut. Ask when you order if you want a vinyl-safe cleaner sent with the kit.

Decals are produced on vinyl specified for a ten-year outdoor life, not a bargain film that fades in a season. Life still depends on prep, sun, and how the surface is washed. We would rather you find us dearer than find the colour gone.

If a mark is missing from the archive we will set it up. For motorcycle work that has long been part of the service, and the same applies to a club badge or a simple wordmark. Send a clear photo or a vector file if you have one.

Yes. Kits are posted across the UK with a fitting guide, and trade orders are welcome. Fitting itself happens at the demo estate, the Midlands — book it, do not just turn up.

Small bubbles often settle as the adhesive wets out. For a stubborn one, prick the centre with a new blade tip and press the air out toward the hole with a squeegee — do not slash a long cut through the print. The fitting guide covers the wet method, which prevents most of them.